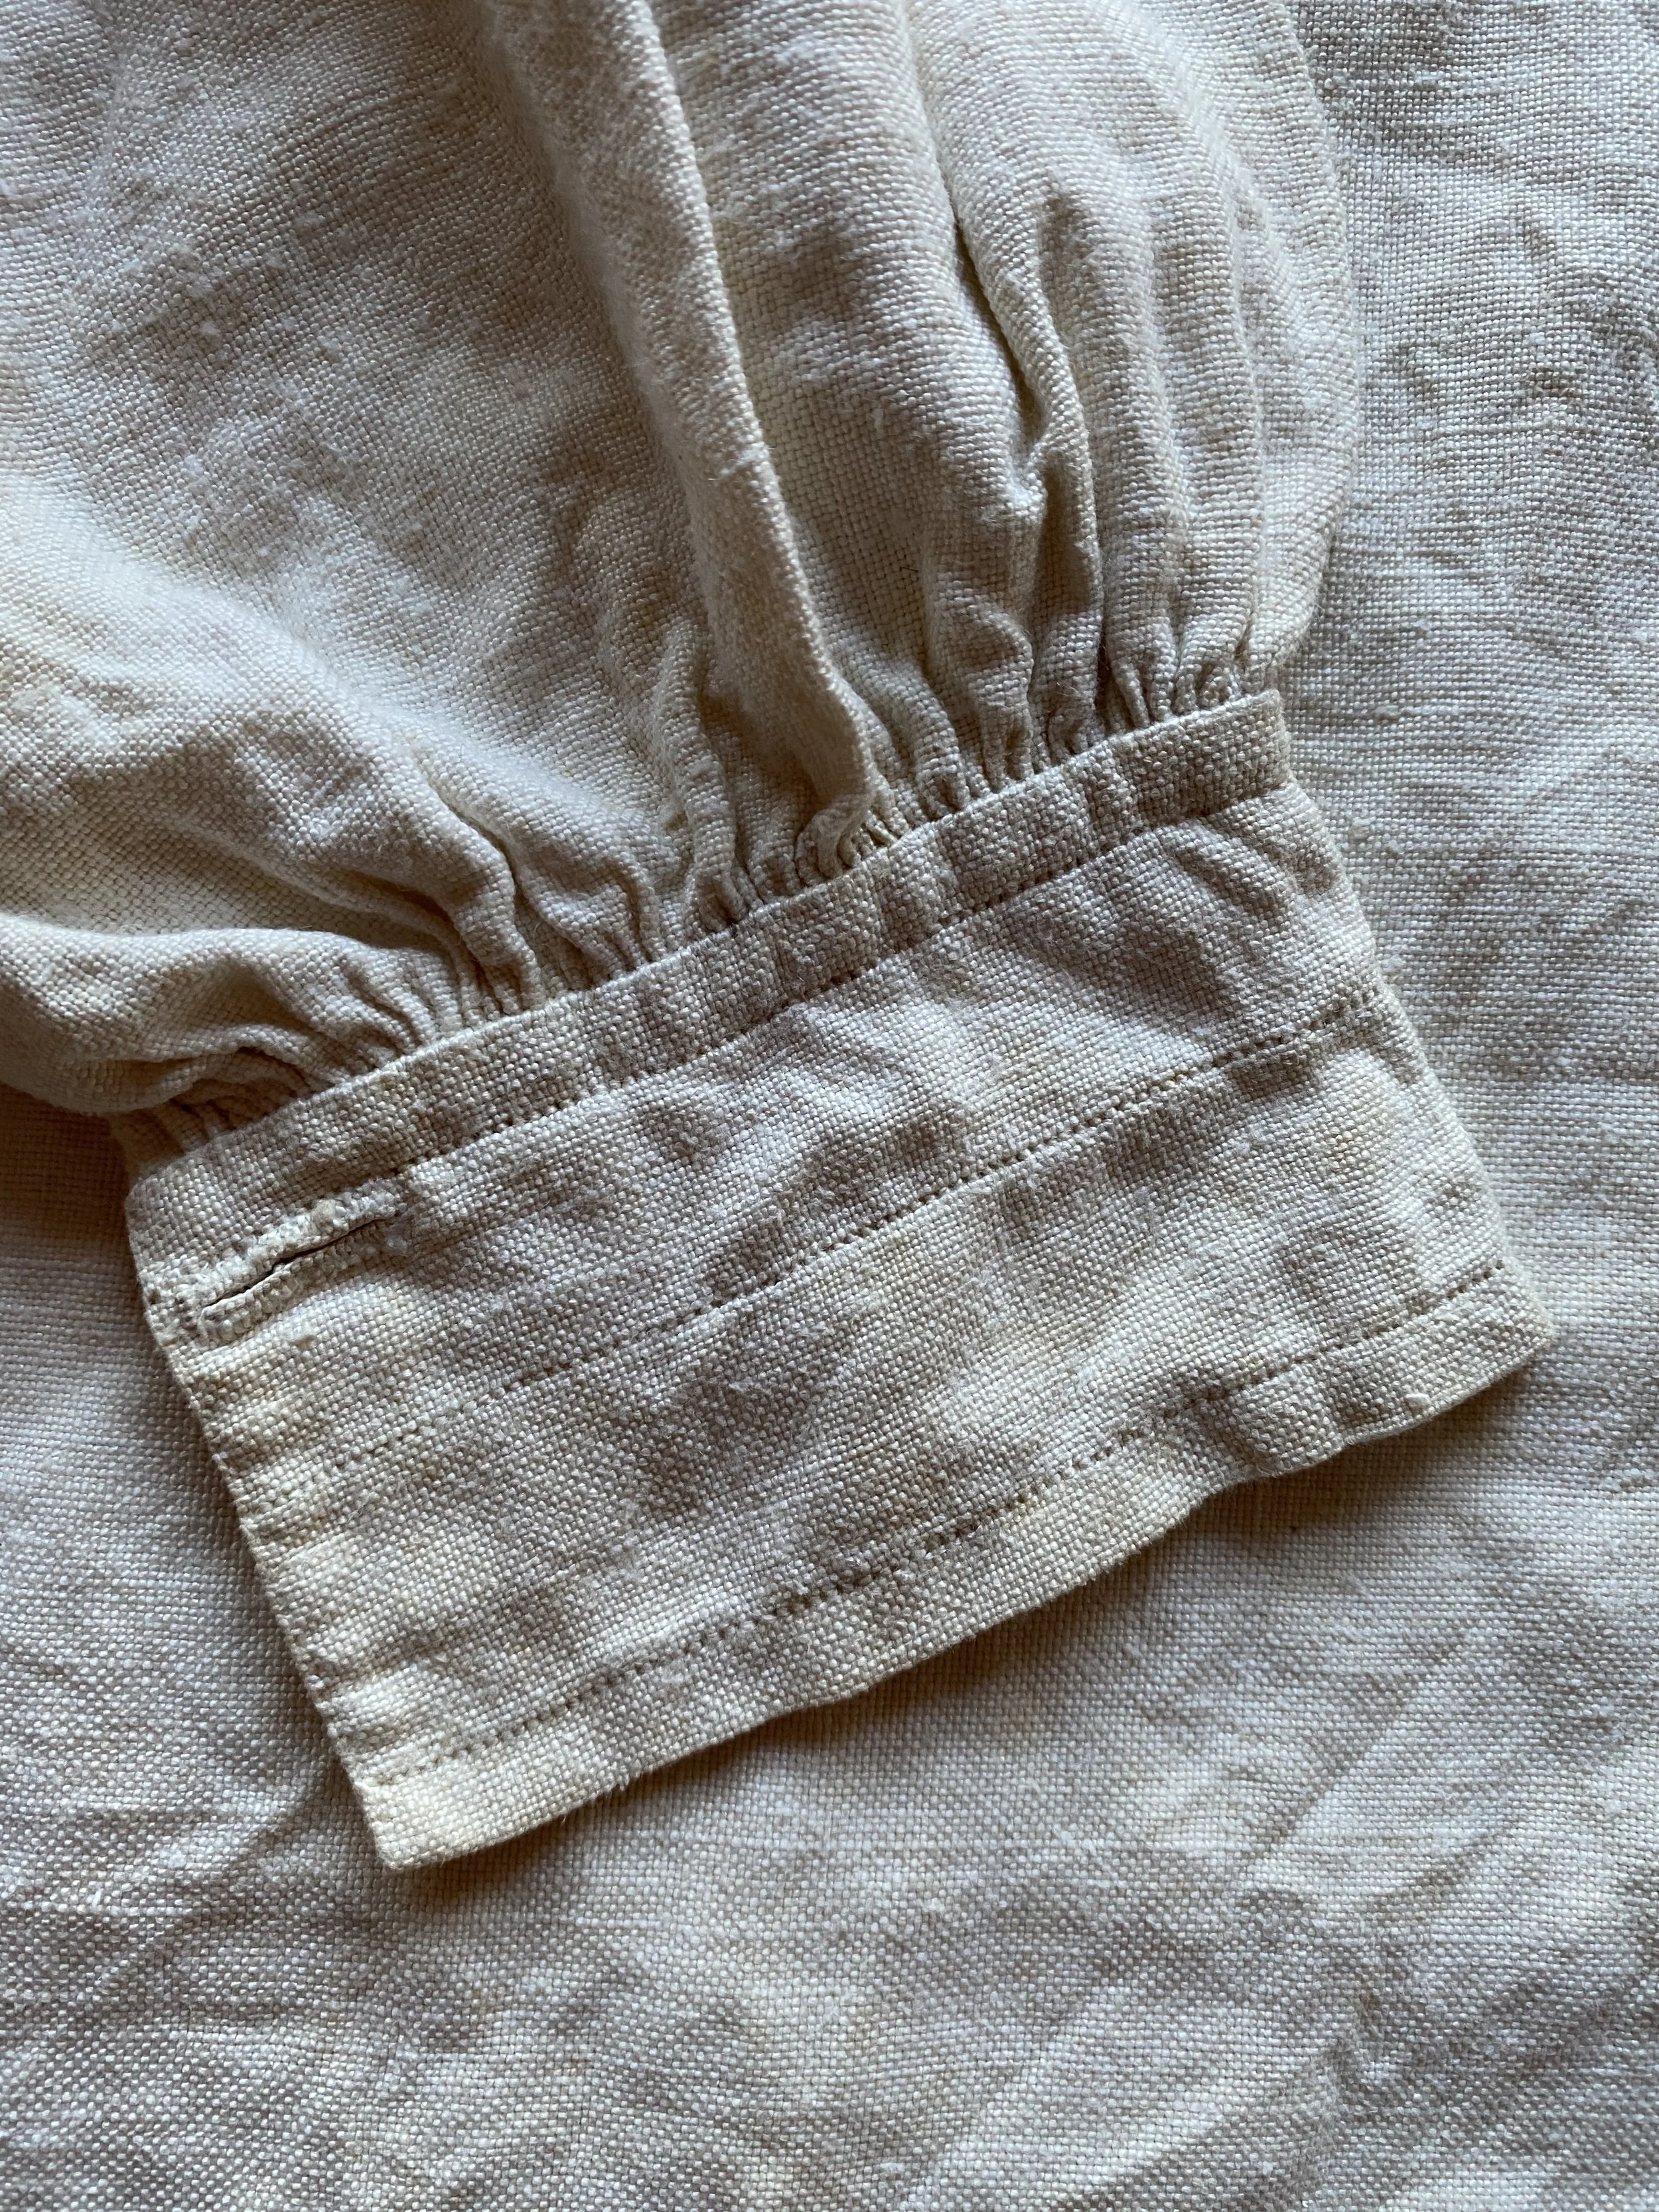
Hand-Sewn Historical Shirt Finishing Techniques

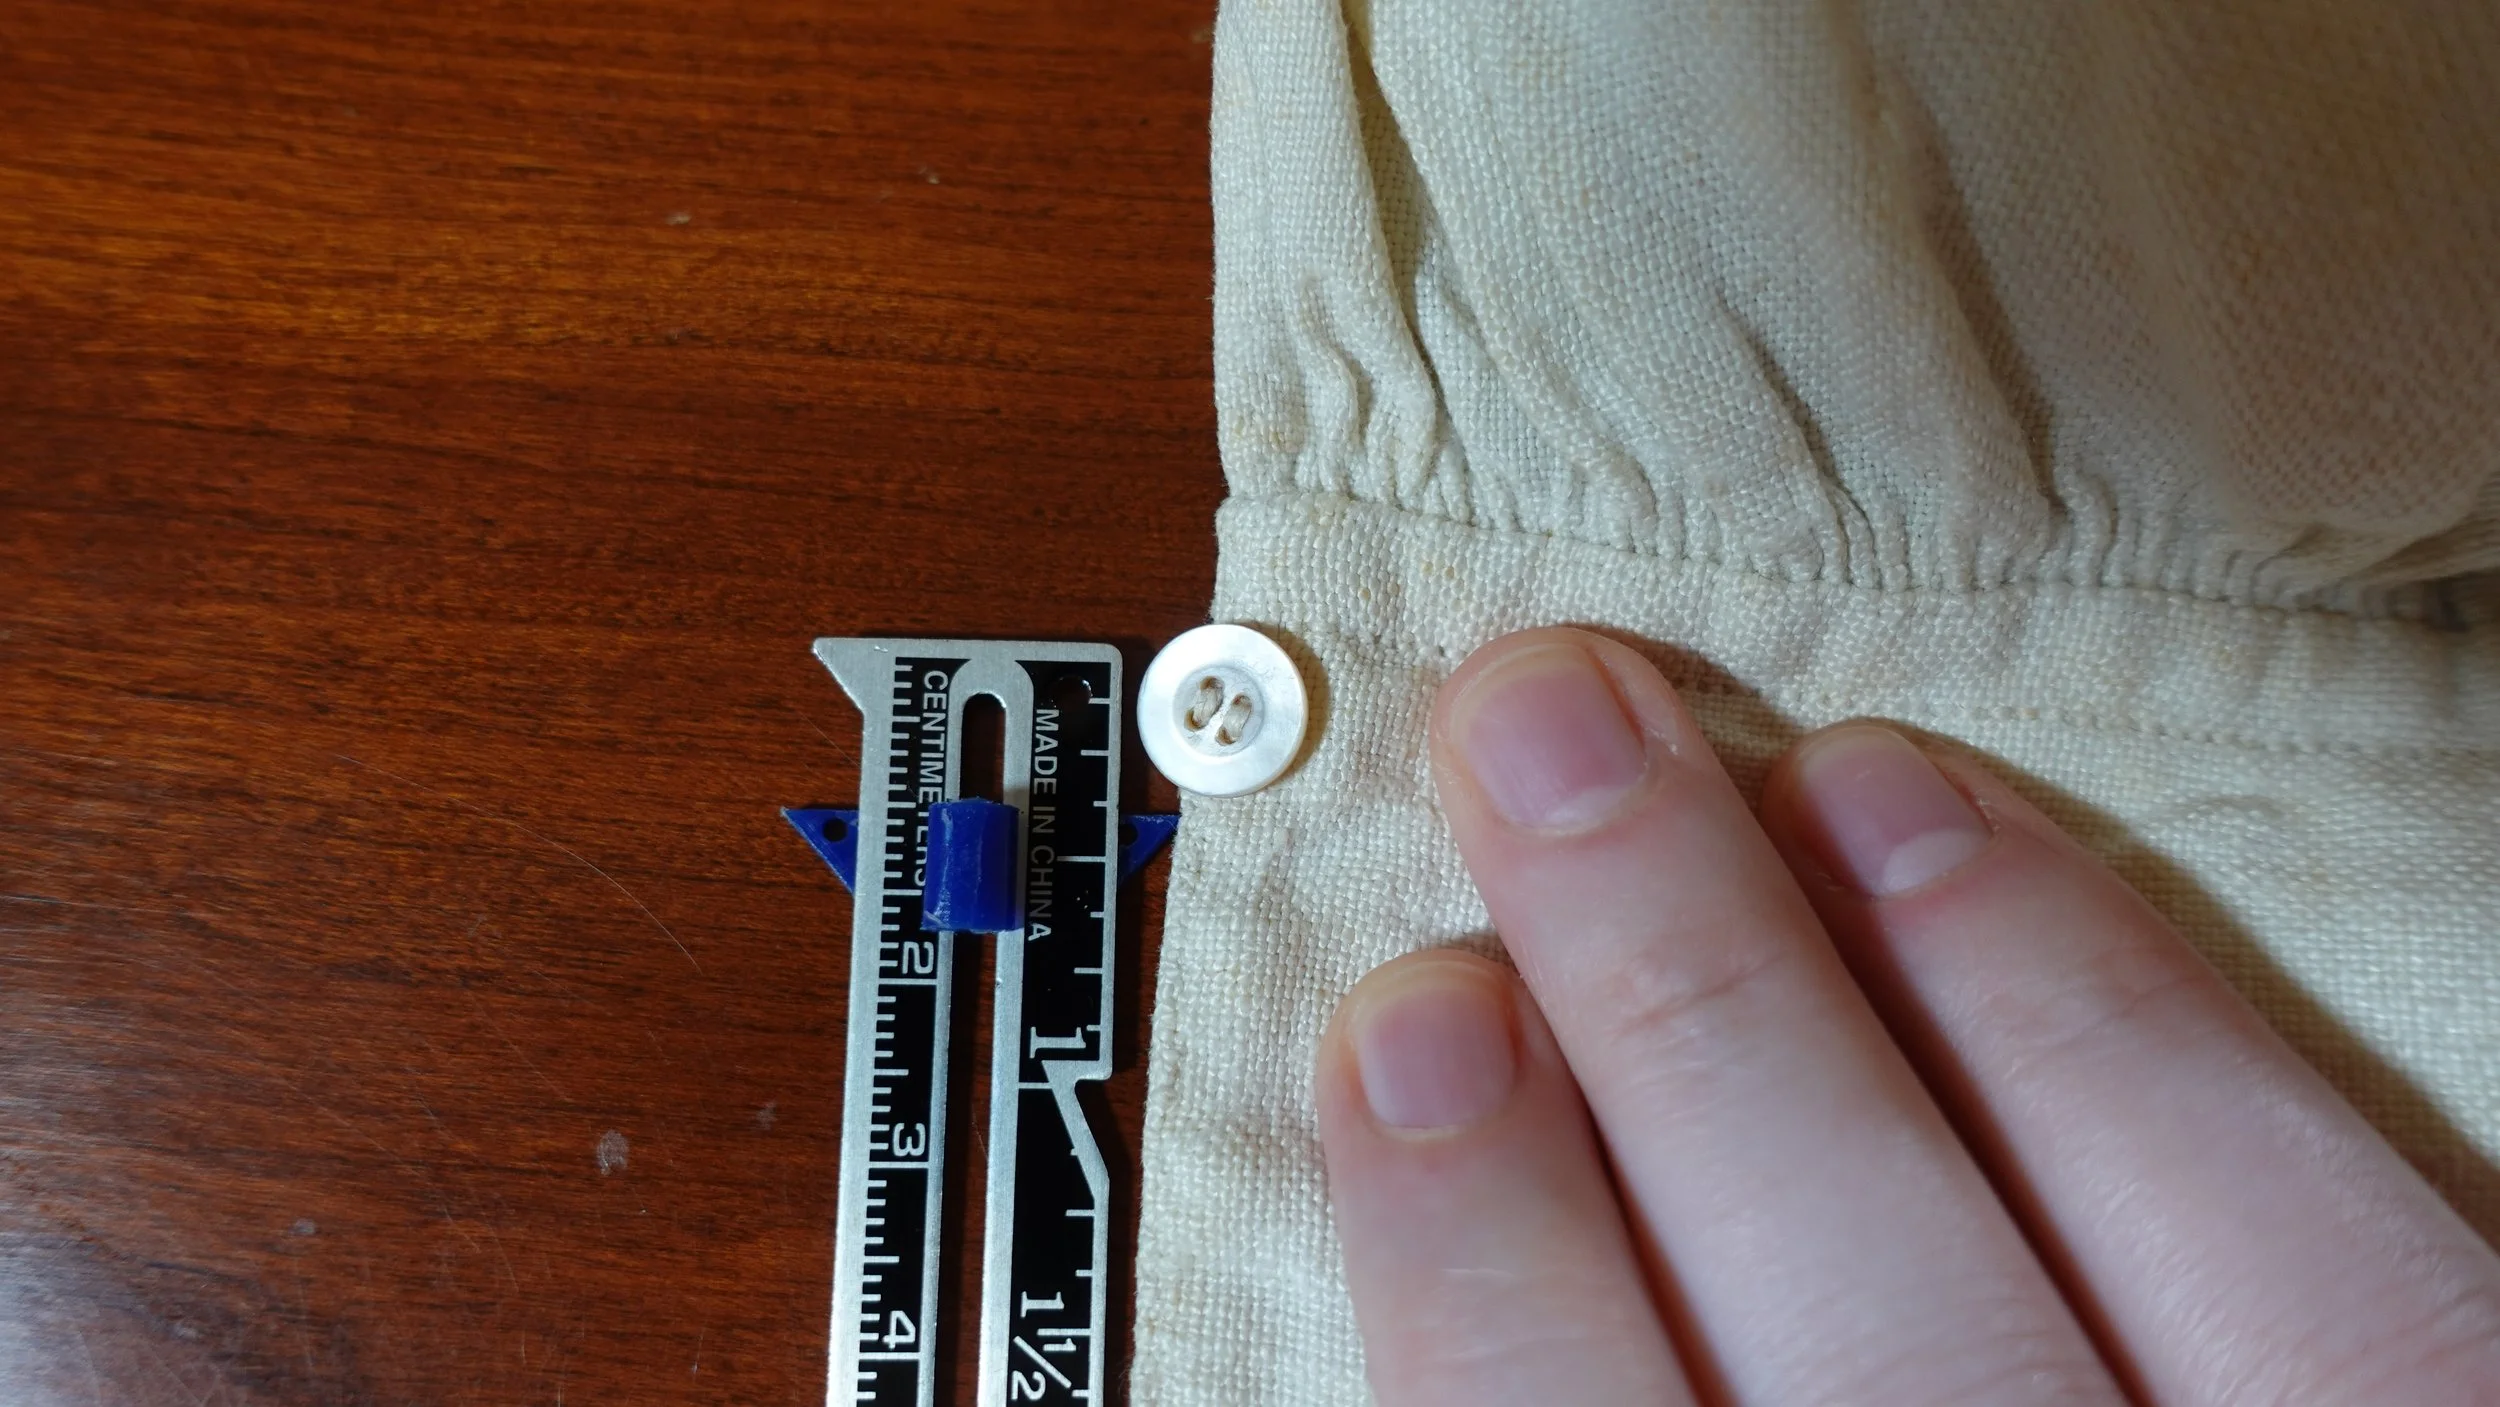
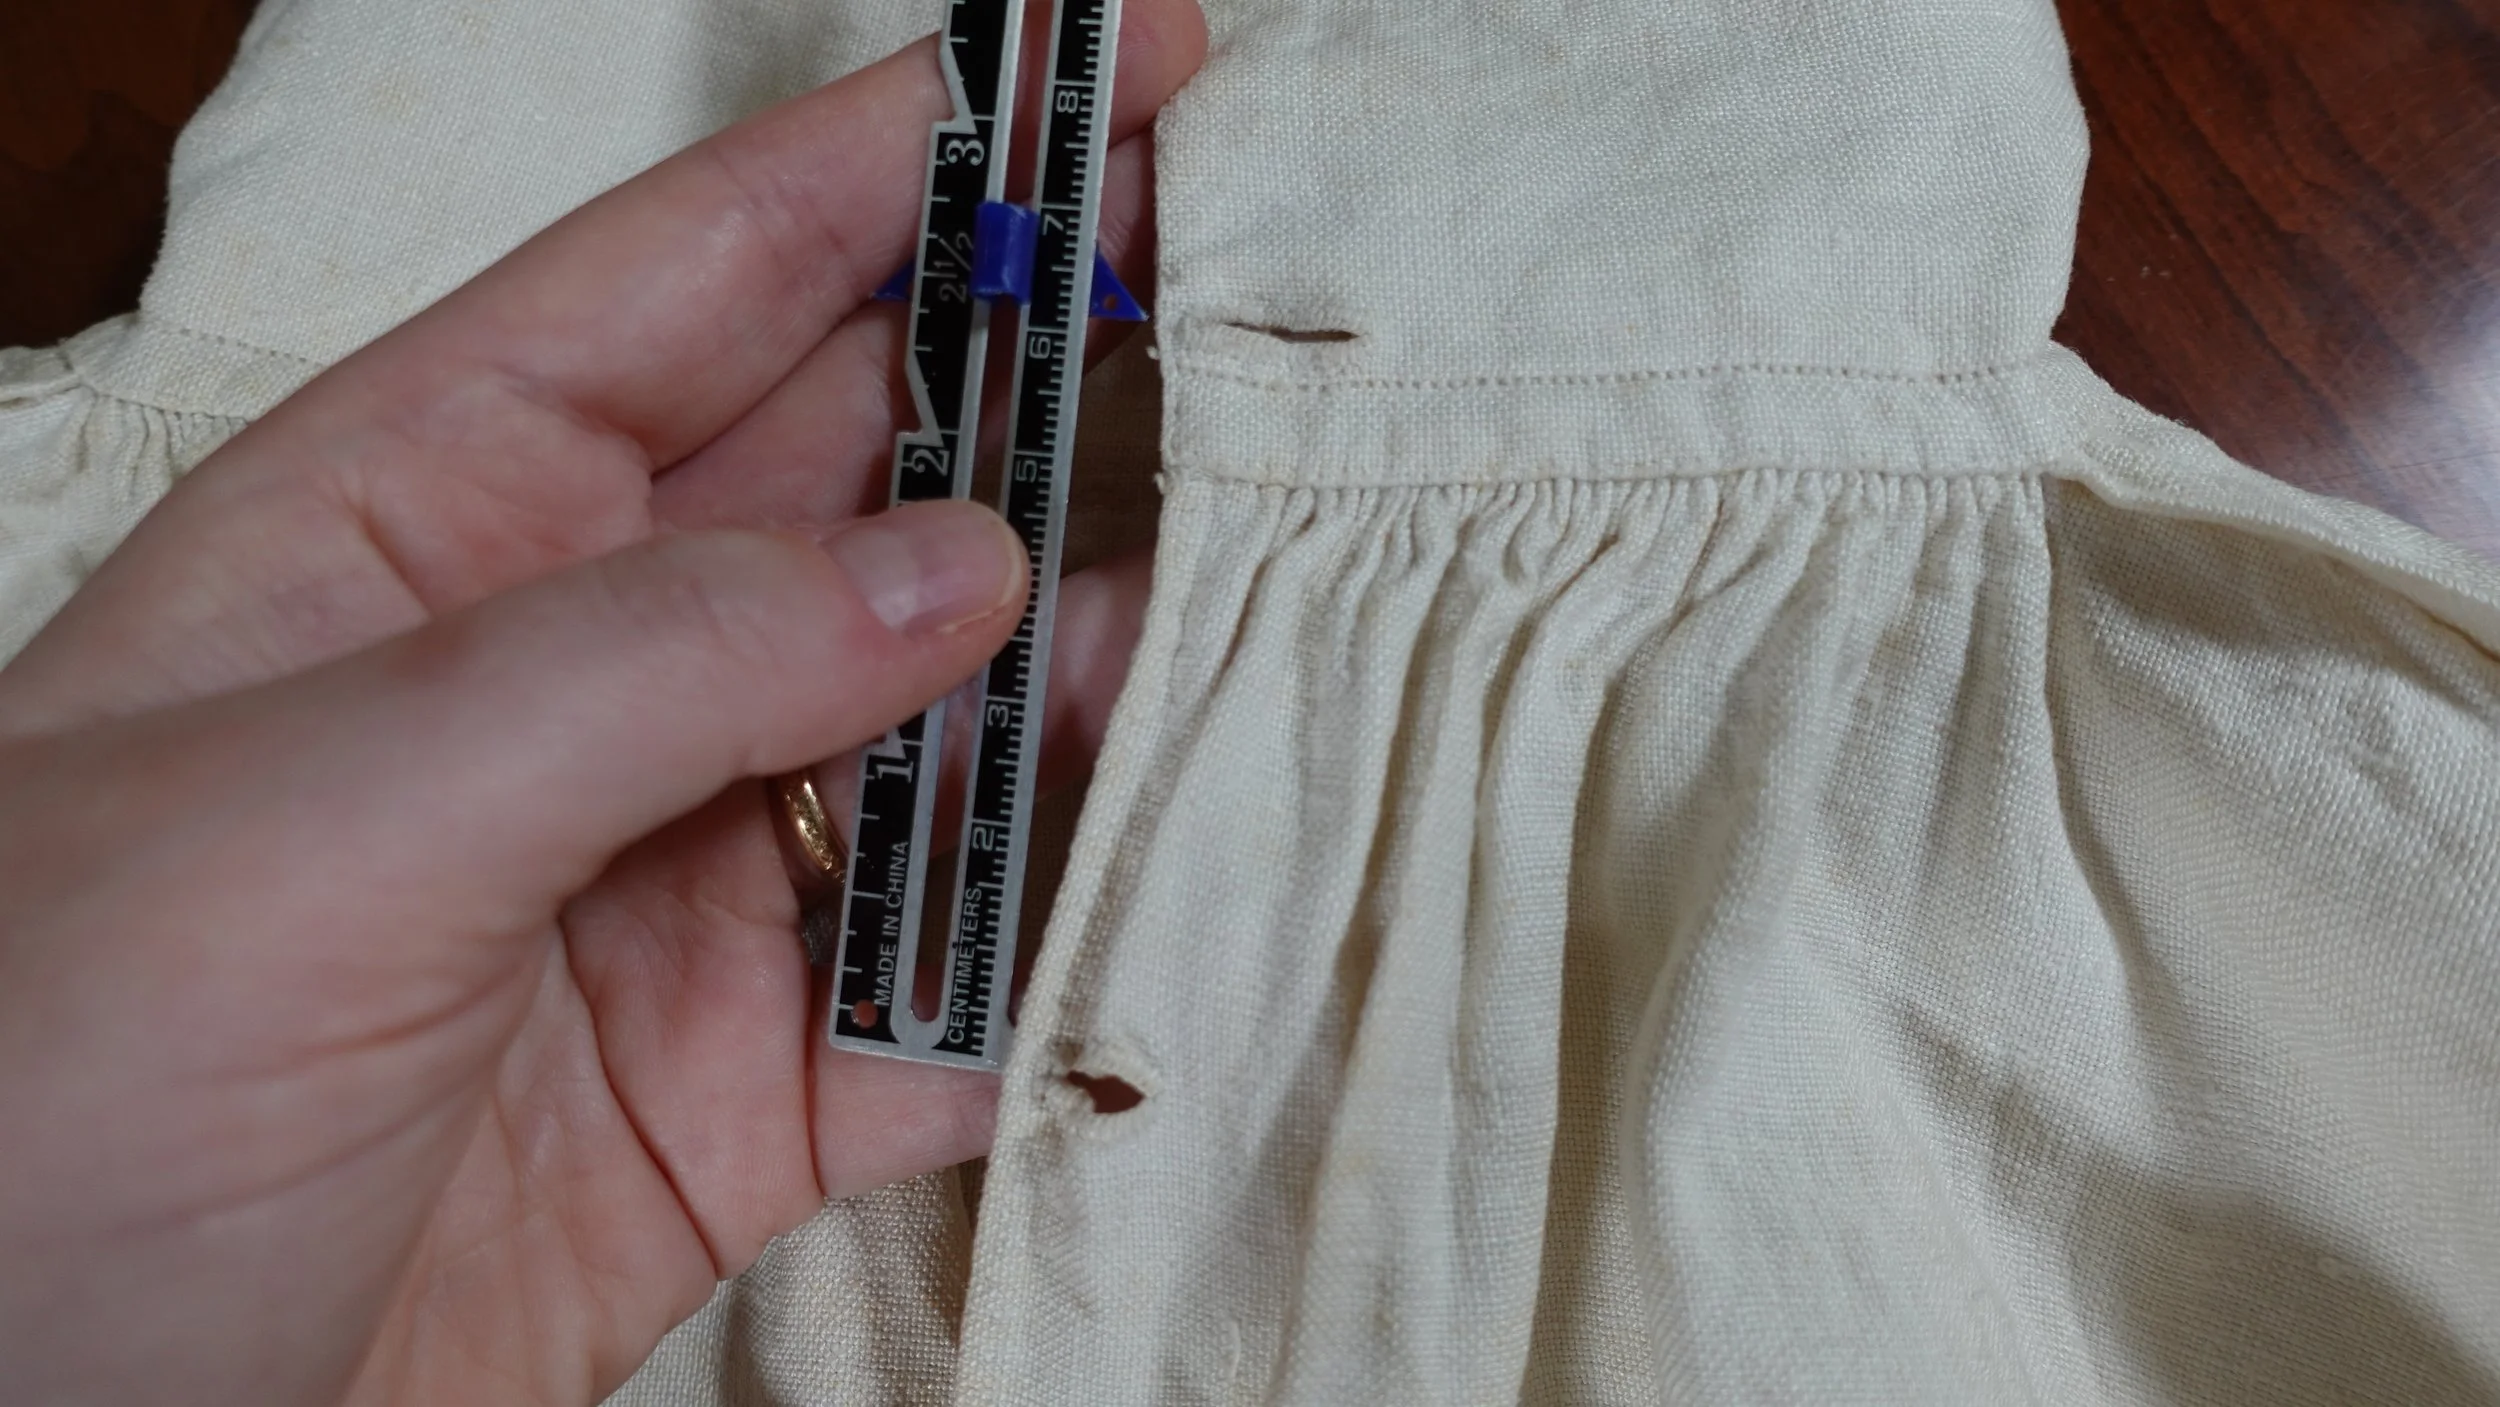
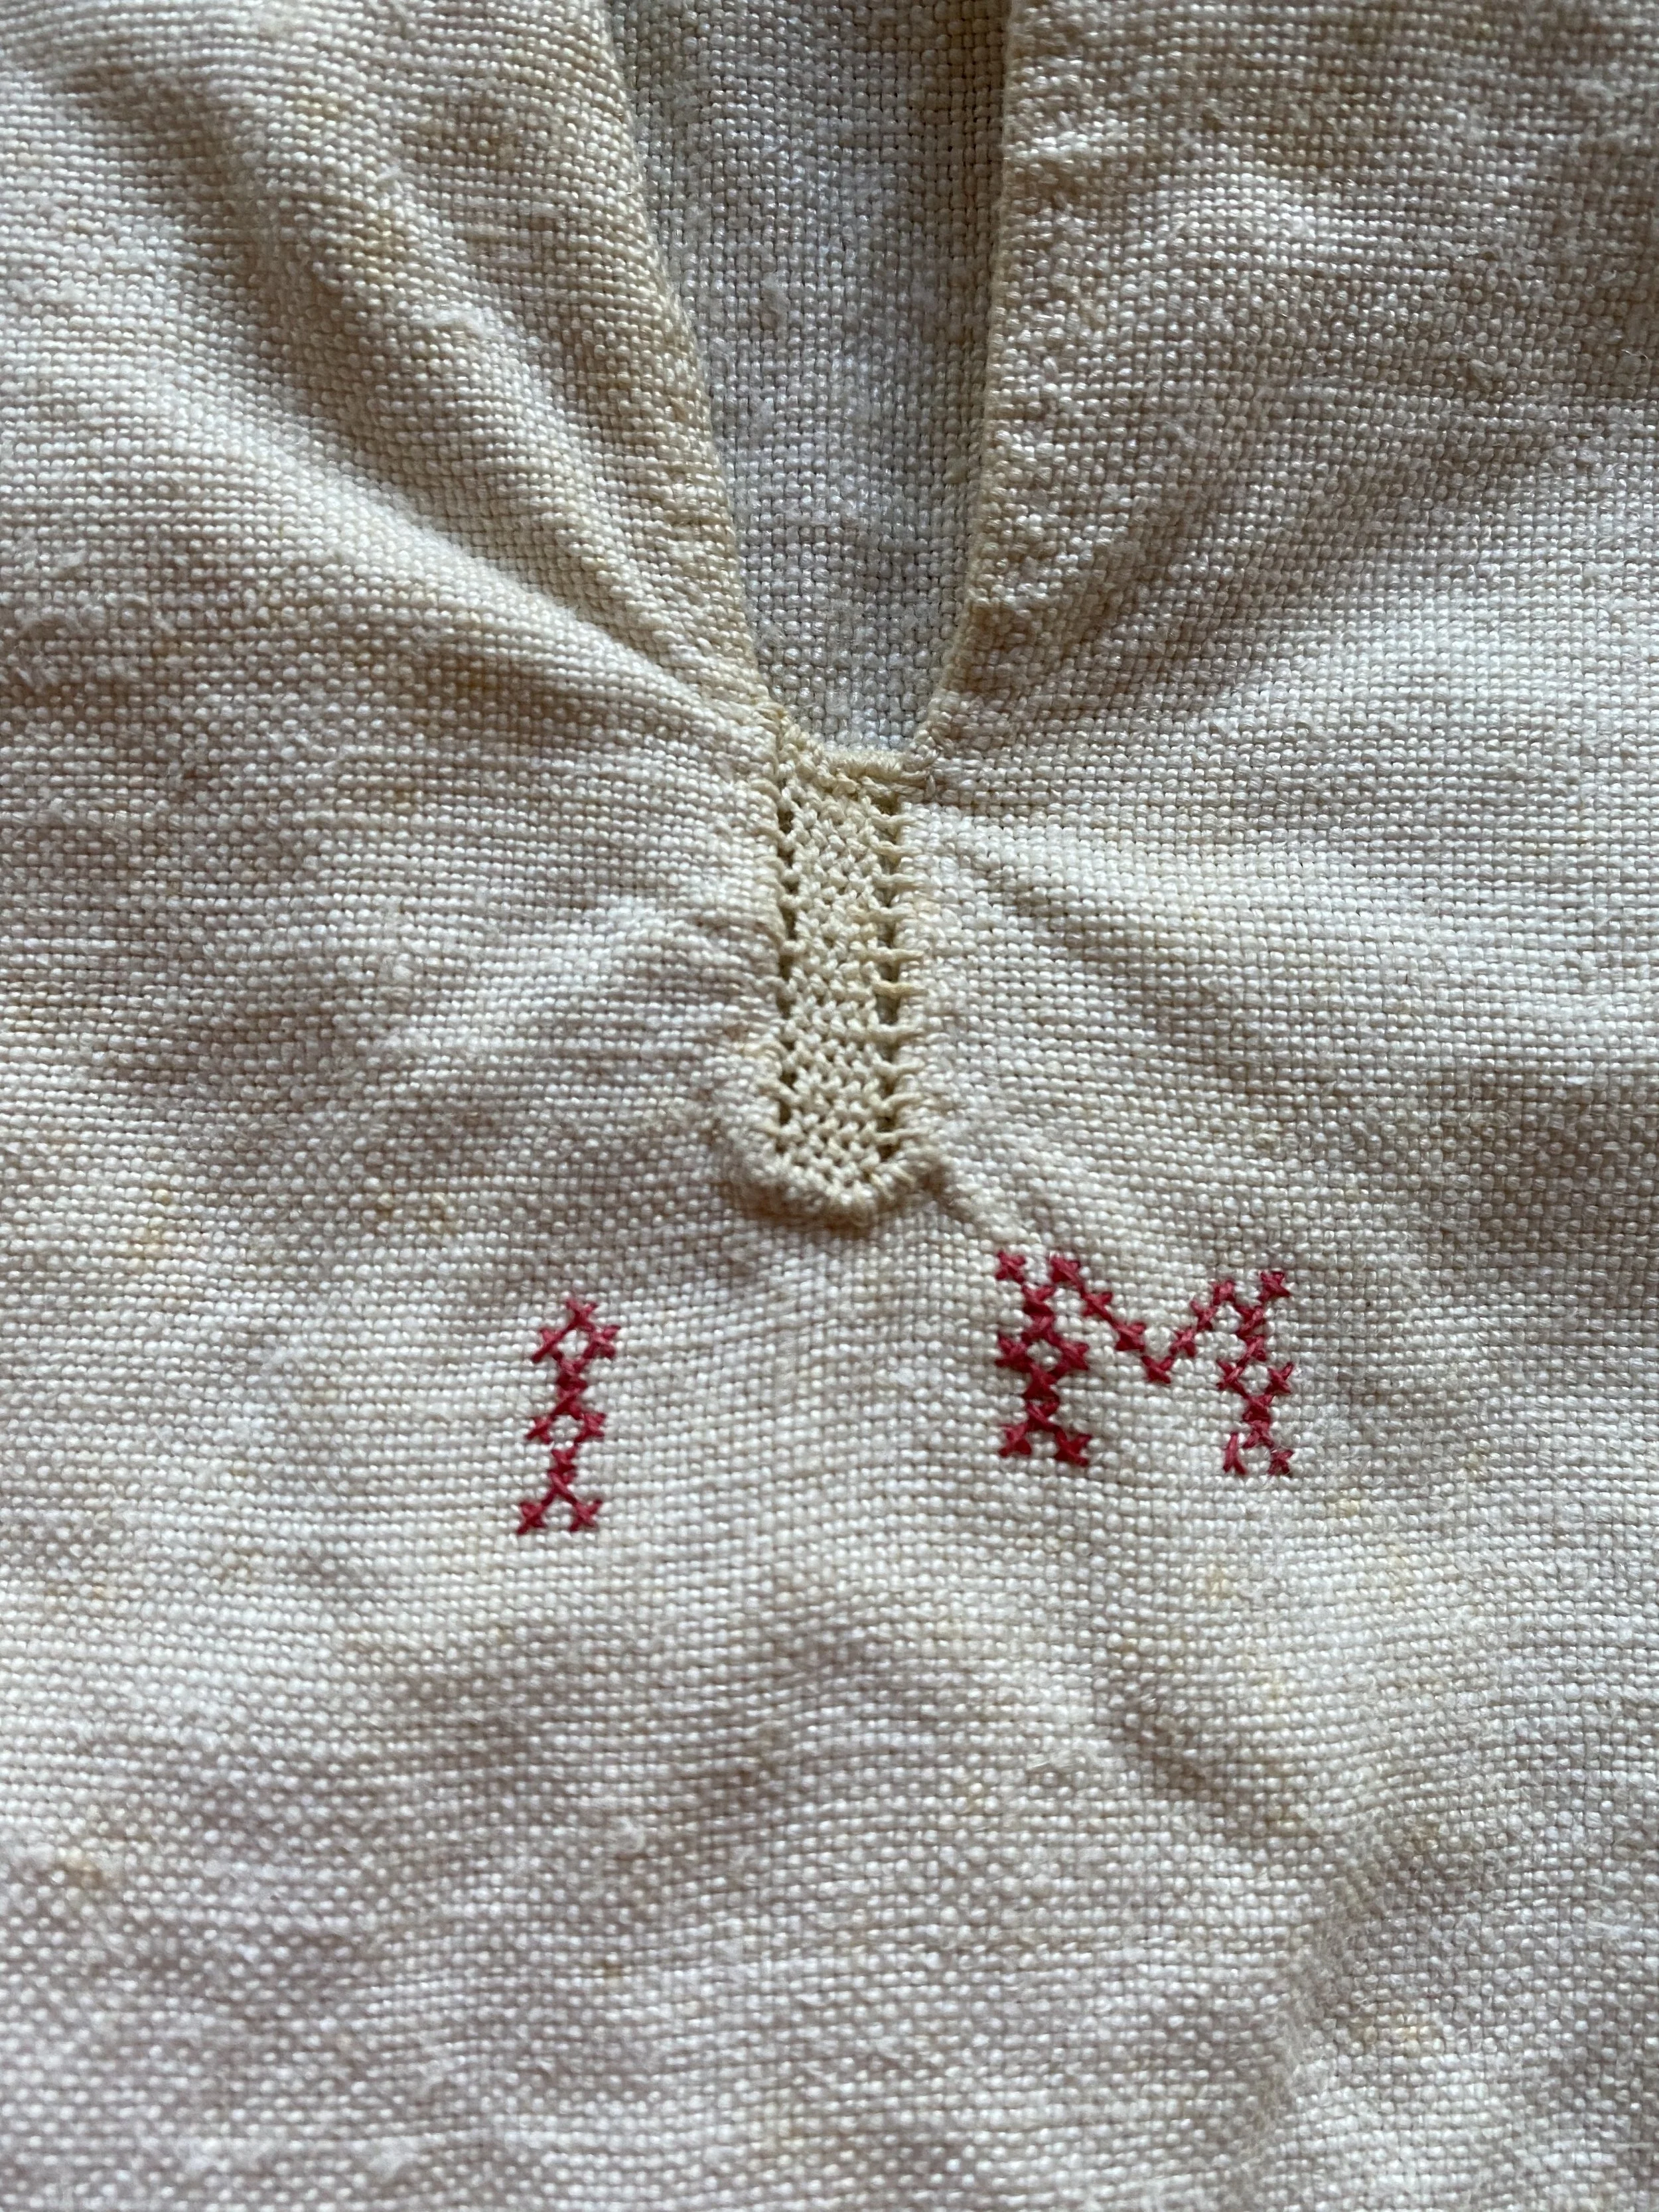
In this class you will learn three hand-sewing techniques for finishing off an historical shirt. These details are taken from a historical shirt likely worn c. 1820-1850 in the Atlantic World. We will go over how the buttons and buttonholes are done in this shirt, creating a knot-work re-enforcement stitch at the front slit and making a monogram with cross-stitch. While we are using the historical piece as our guide you can apply these techniques to modern clothing.

Workshop format: This workshop is organized in a series of sections with a pre-recorded, close-captioned video as the key manner of instruction. You are strongly encouraged to watch the video before you start sewing. This class is designed for you to go at your own pace using the pre-recorded videos for instruction. Pause, rewatch and review to hone your seaming skills. The goal of this class is to teach you to hand-sew three finishing techniques that can be applied to both historical and modern garments.

To learn more about your teacher, Sarah Woodyard click here.

Materials and Supplies

If you already have a shirt made this is a good way to finish it off. Please read on for tools you need. If you want to practice these finishing details here is what you need to create samples.

Fabric: medium weight plain woven linen, cotton, silk, wool, tencel or a blend of these. For button and button hole sample you will need TWO pieces of fabric cut 9 inches (22.5 cm) by 3 inches (7.5 cm). For the cross stitch and re-enforcement sample will be the same piece of fabric 10 inches (25 cm) by 6 inches (15 cm).

Buttons: 4 shirt buttons. I am using 3/8” shirt buttons based on the historical example.

Thread: These finishing details will be standing and need to be strong so you want a thread that is slightly heavier than your textile. Note: If you are using the cross-stitch marking for an historical recreation you will need red thread.

Linen (weight will be slightly heavier than textile). For medium weight use 50/2, 50/3 or 60/2, 60/3. I like to use a contrasting thread to make the stitches visible for modern clothes. For historical work I buy white or matching thread.

  • Great selection here!

  • Do not forget the beeswax for coating your thread here!

Quilters Cotton

Needles: I’d recommend size 7,8,9 or 10 “sharps,” “appliqué,” or “embroidery” needles. The finer fabric the higher the number of the needle.

  • I love Bohin needles. Get them here!

Dressmakers shears: 8 inches.

  • My favorite shears are from William Whiteley and Co. in England who preserve the scissor making craft. Buy them here!

Small snips: Look for “embroidery” scissors.

  • My favorite small scissors are from William Whiteley and Co. in England who preserve the scissor making craft. Buy them here!

Measuring tape, ruler or seam gauge

Thimble (optional but encouraged): Should fit on the middle finger of your dominate hand. Not too tight but not too loose it falls off. Learn how to use one here!

  • Where to buy: Antique malls, eBay, etsy, Lacis has a fantastic stock here.

 Buttons and Buttonholes

In this section I show you how to create buttons and buttonholes on the cuffs and collars of an historical shirt. I start with some images of these details. The instructional videos are below the images. Please note in the video I am working with a finished cuff and collar. I do not go over how to make a sample. However, I would strongly encourage you to make a sample first as an opportunity to practice. Buttonholes are really hard and I find the best thing to do before you do the real ones is to practice 5-10 ones on the same type of fabric you are using for the final garment.

For button and buttonhole sample you will need TWO pieces of fabric cut 9 inches (22.5 cm) by 3 inches (7.5 cm). You will fold them in half to create two double pieces of fabric that are 4.5 inches (11.25 cm) by 3 inches (7.5 cm) mimicking a cuff or collar. (Make sure you have a sharp small pair of scissors on hand!)

Images of the original shirt:

Left handed

Right handed

 Re-enforcement Stitch

In this section we will create the re-enforcement stitch that is seen on the bosom slit on the historical shirt. This can be re-created on a modern garment any place you have a slit that needs reenforcing. If you are doing a sample piece I would suggest cutting a slit along the grain line of the sample textile 6 inches (15 cm) down and do a small hem. This section shows you how to hem the bosom slit and how to sew the re-enforcement.

The original re-enforcement on the historical shirt.

The re-enforcement stitch I do in the video.

Hemming the bosom slit

Right handed

Left handed

Sewing the re-enforcement

 Cross-stitched Initials

In this section I show you how to create the cross-stitch initials that create a monogram on the shirt below what was knows as the bosom slit. You will need a contrasting thread. For historical stitching I would suggest red thread. We will create this monogram referencing a PDF diagram. This video shows you beginning my monogram which is SEW. You will use the techniques and apply them to your initials. Please see the PDF for the cross-stitch diagram I reference in the video.

Historical shirt with cross-stitch marking.

Cross-stitch marking I start in the video.